
Expert Troubleshooting: Why is Your Pool Salt Cell Leaking at the Unions?
When you spot water dripping from the connection points of your salt chlorinator, there is no need to panic—and certainly no need to assume the entire housing is ruined. In fact, 90% of union leaks do not require a full unit replacement. They can be resolved with basic mechanical troubleshooting and simple adjustments at zero to minimal cost.
As a professional B2B manufacturer in the water treatment industry, Century understands the frustration service technicians and facility managers face when dealing with equipment leaks. We also know how often misdiagnoses lead to blindly replacing expensive parts. In this guide, we will walk you through the process like a veteran pool tech. We will break down the true culprits behind a salt water chlorinator leaking at the unions and provide actionable, step-by-step solutions to stop the drip and eliminate unnecessary waste.
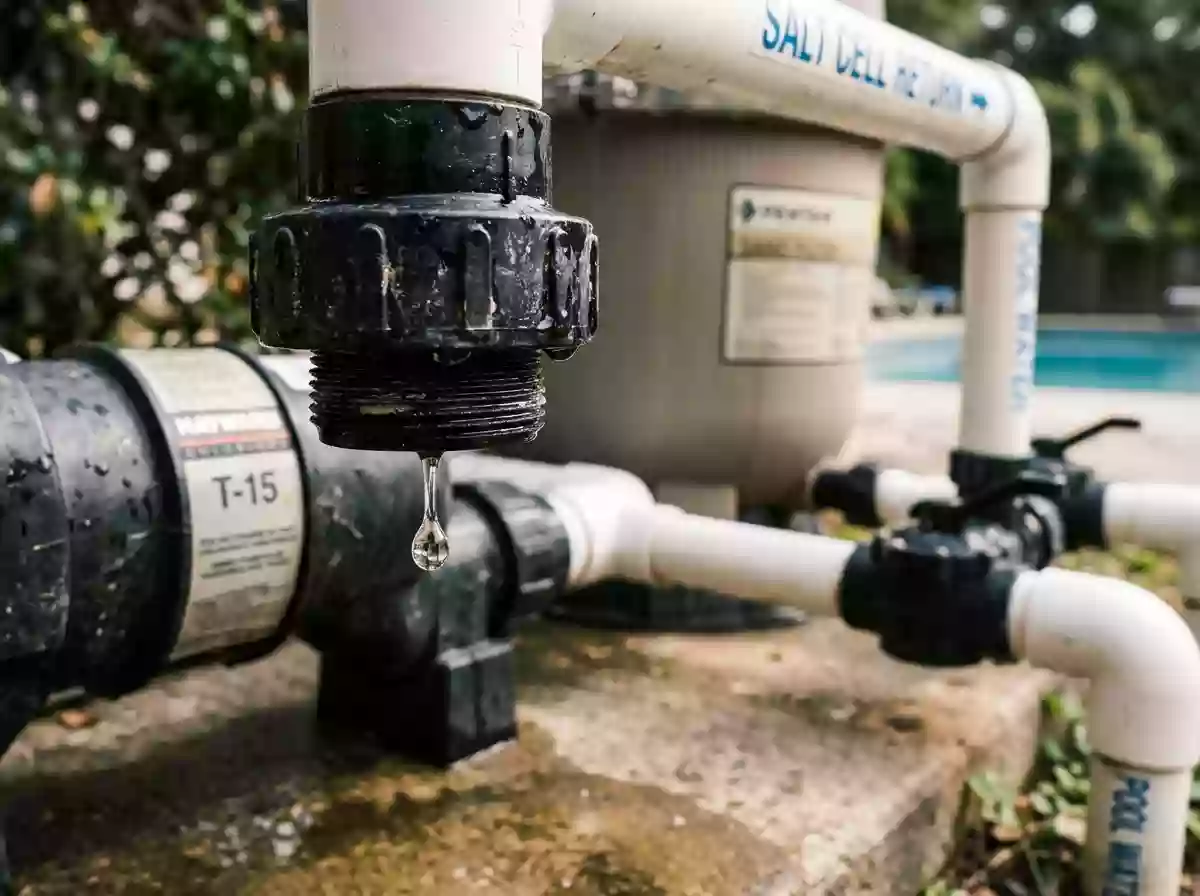
Diagnostic Checklist: Fixing a Salt Cell Leaking at Unions
Before replacing the entire housing, technicians must properly assess why they have a salt cell leaking at unions. In most commercial and residential electrochlorination systems, this specific type of drip originates from compromised O-rings, cross-threaded connections, or overtightened lock nuts, rather than a catastrophic crack in the titanium anode chamber itself. Let’s walk through the immediate inspection protocol to isolate the exact source of the leak.
The Anatomy of a Leak: Where and Why Salt Cell Unions Fail
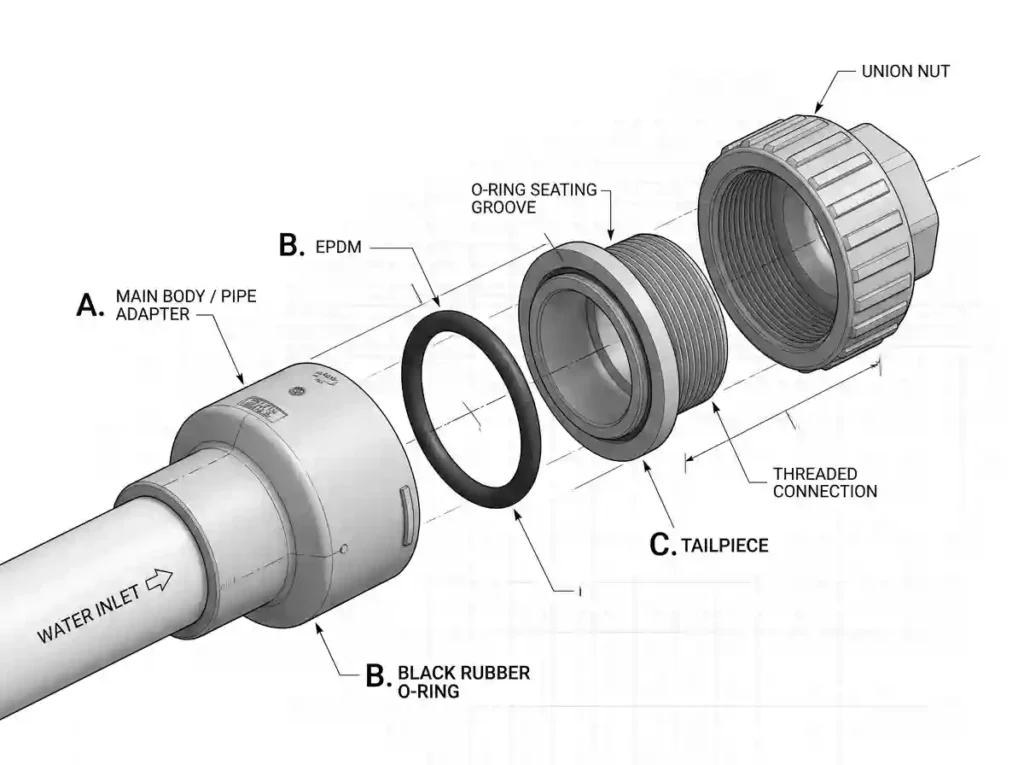
To fix a pool salt cell leaking, you first need to understand the anatomy of the union assembly. This connection point consists of three main components: the threaded Nut that secures the joint, the Tailpiece that connects to the plumbing, and the critical sealing element—the O-ring. Together, they form a watertight mechanical seal.
Why do these unions fail so frequently? Because they are the physical intersection between the rigid plumbing system and the operational equipment. They endure a brutal combination of forces. First, the hydraulic pressure and vibration from the pool pump constantly stress the threads. Second, in outdoor installations, the extreme temperature fluctuations between direct UV sunlight and cold pool water cause continuous thermal expansion and contraction. Finally, the high-concentration chlorine generated inside the cell chemically degrades the union surfaces and the O-ring over time. These combined factors make the union the most vulnerable point in your system.
Culprit 1: Degraded, Flattened, or Missing Salt Cell Union O-Rings
A degraded salt cell union o-ring is the undisputed leading cause of leaks.
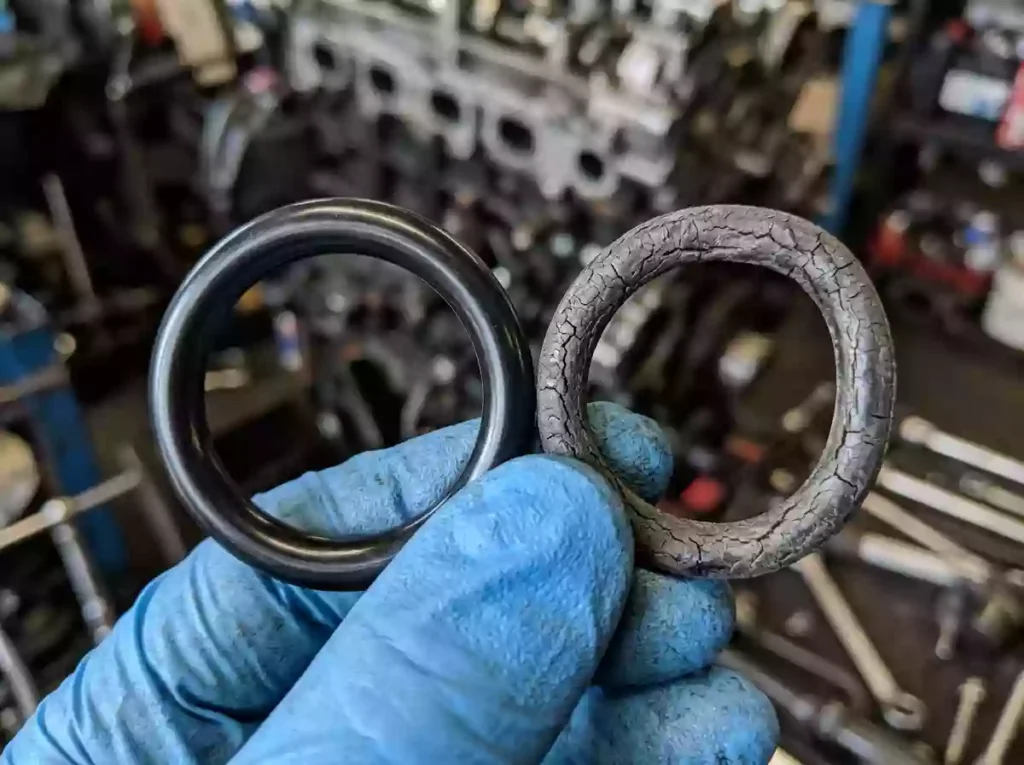
These rubber rings are constantly submerged in saltwater. As the cell undergoes electrolysis, it generates strong oxidizers like sodium hypochlorite. Combined with the harsh acidic environment introduced during routine acid washes, this chemical exposure inevitably breaks down the rubber. Over time, the O-ring loses its elasticity, becoming stiff, flattened, or visibly cracked.
If you open the union and the O-ring feels like hard plastic rather than flexible rubber, or if it has dry-rot cracks, it has completely failed. It can no longer compress to form a seal.
Pro Tip: Ensure replacement rings are made of high-quality EPDM or Viton rubber designed specifically for chemical resistance.
Culprit 2: The Danger of Overtightening and Cracked Salt Cell Housings
When attempting to fix a leak, rookies often make a fatal mistake: they grab a large wrench and crank down the union nut as hard as possible. This is the fastest way to destroy your equipment.
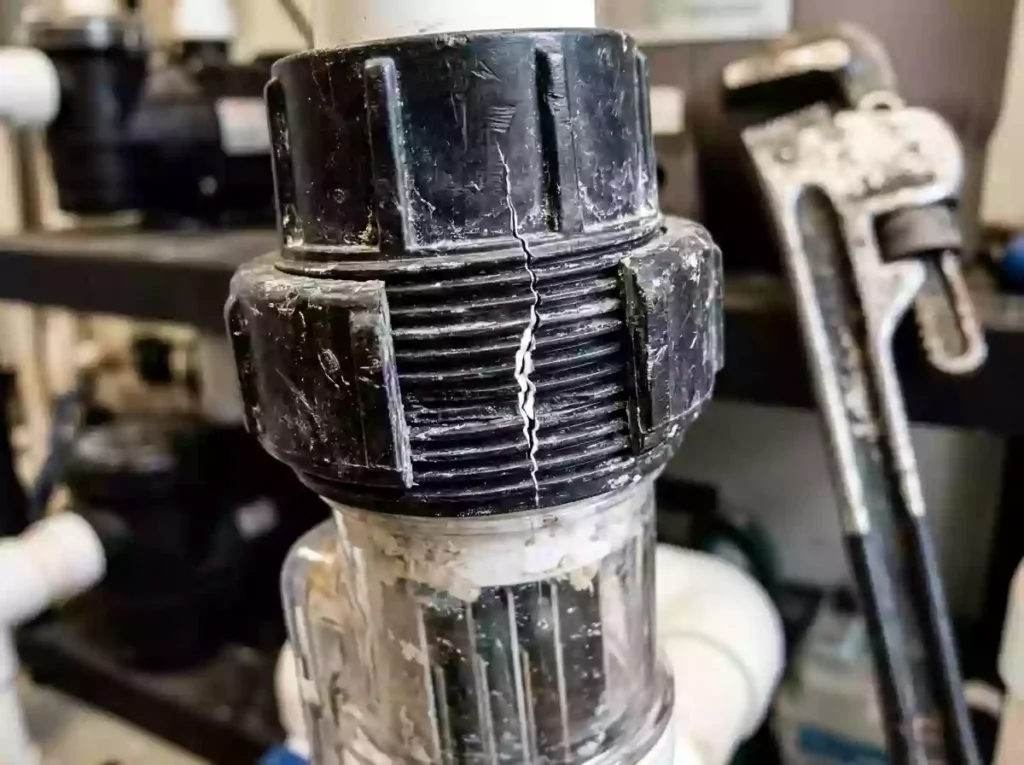
Overtightening generates massive mechanical stress. First, it crushes and pinches an already stiff O-ring, worsening the leak. More critically, the extreme torque creates microscopic hairline cracks in the union nut threads or the cell body itself. These invisible fractures slowly expand under pressure, eventually causing the salt cell leaking at union to evolve into a permanently cracked salt cell housing.
As a B2B manufacturer, we must point out that many cheap aftermarket cells use recycled plastics with poor tensile strength, making them highly susceptible to overtightening fractures. Century’s cell housings are injection-molded using industrial-grade, UV-resistant engineering plastics. Our designs incorporate stress-relief tolerances to withstand high pressure and mechanical strain, actively reducing the risk of cracking at the source.
Culprit 3: Plumbing Misalignment and System Vibration
Beyond failing O-rings and cracked plastic, physical plumbing misalignment and system vibration are major contributors to leaks that often go undiagnosed.
Many union leaks are actually installation errors. If the PVC pipes on either side of the cell are glued at a slight angle, forcing the union nut to pull the pipe into alignment creates an uneven seal. One side of the O-ring gets compressed while the other lifts, allowing water to escape.
Furthermore, when a Variable Speed (VS) pump ramps up to high RPMs, it generates significant vibration. If the equipment pad lacks proper dampening, this vibration travels straight down the pipe. Much like a pool pump leaking at union due to vibration, a salt cell union will slowly back off its threads over time. Correcting the pipe angle and securing the plumbing will permanently resolve this type of leak without replacing any parts.
Actionable Guide: How to Fix a Leaking Salt Cell Like a Pro
Do not guess. Follow these standard operating procedures to accurately diagnose and execute how to fix a leaking salt cell:
- Power Off and Relieve Pressure: Turn off the main breaker to the pump and chlorinator to ensure electrical safety. Open the filter air relief valve to depressurize the plumbing line.
- Inspect and Clean: Unscrew the union nut and remove the O-ring. Thoroughly wipe down the O-ring groove and the tailpiece to remove any calcium scale or debris. Never use Teflon tape on union threads—these seal via the O-ring, and tape will only stretch and crack the nut.
- Lubricate and Replace: If the O-ring is flattened or hard, you must replace salt cell o ring with a fresh one. Liberally apply a 100% silicone-based lubricant to the O-ring. Warning: Never use petroleum jelly (Vaseline), as it will melt and destroy the rubber.
- Hand-Tighten Only: Seat the O-ring properly and thread the nut back on. Hand-tighten it firmly. If necessary, use a strap wrench to turn it a maximum of one-quarter turn past hand-tight. Do not over-torque.
- Test the System: Restore power, prime the pump, and observe the union under full operating pressure to confirm a watertight seal.
Beyond the Fix: When is it Time for a Complete Salt Cell Replacement?
There is a point where repairs are no longer viable. If you have replaced the O-rings, verified plumbing alignment, and the unit is still leaking—or if you discover a physical crack extending from the threads into the main body—the damage is irreversible. At this stage, a complete salt cell replacement is your only option.
Constantly dispatching technicians to chase persistent leaks damages a service company’s reputation and destroys profit margins. We encourage distributors and service professionals to upgrade to Century’s premium replacement housings. Built for exact dimensional compatibility and superior material durability, our units prevent thread mismatches and structural failures, drastically reducing your warranty callbacks and long-term maintenance costs.